



 1 / 6
Legálisan kinyomtathatjuk neked
Kereskedelmi célra is kinyomtatható és módosítható, ha feltüntetjük a tervező nevét.
Creative Commons Nevezd meg! (CC BY) · A tervező nevét a rendelésednél is feltüntetjük.
Alkatrészek
13 / 13 kijelölveVedd ki, amelyik részre nincs szükséged. Mindegyik ugyanabból az anyagból és színből készül.
A tervező leírása
Eredeti nyelven, a Printables oldaláról.
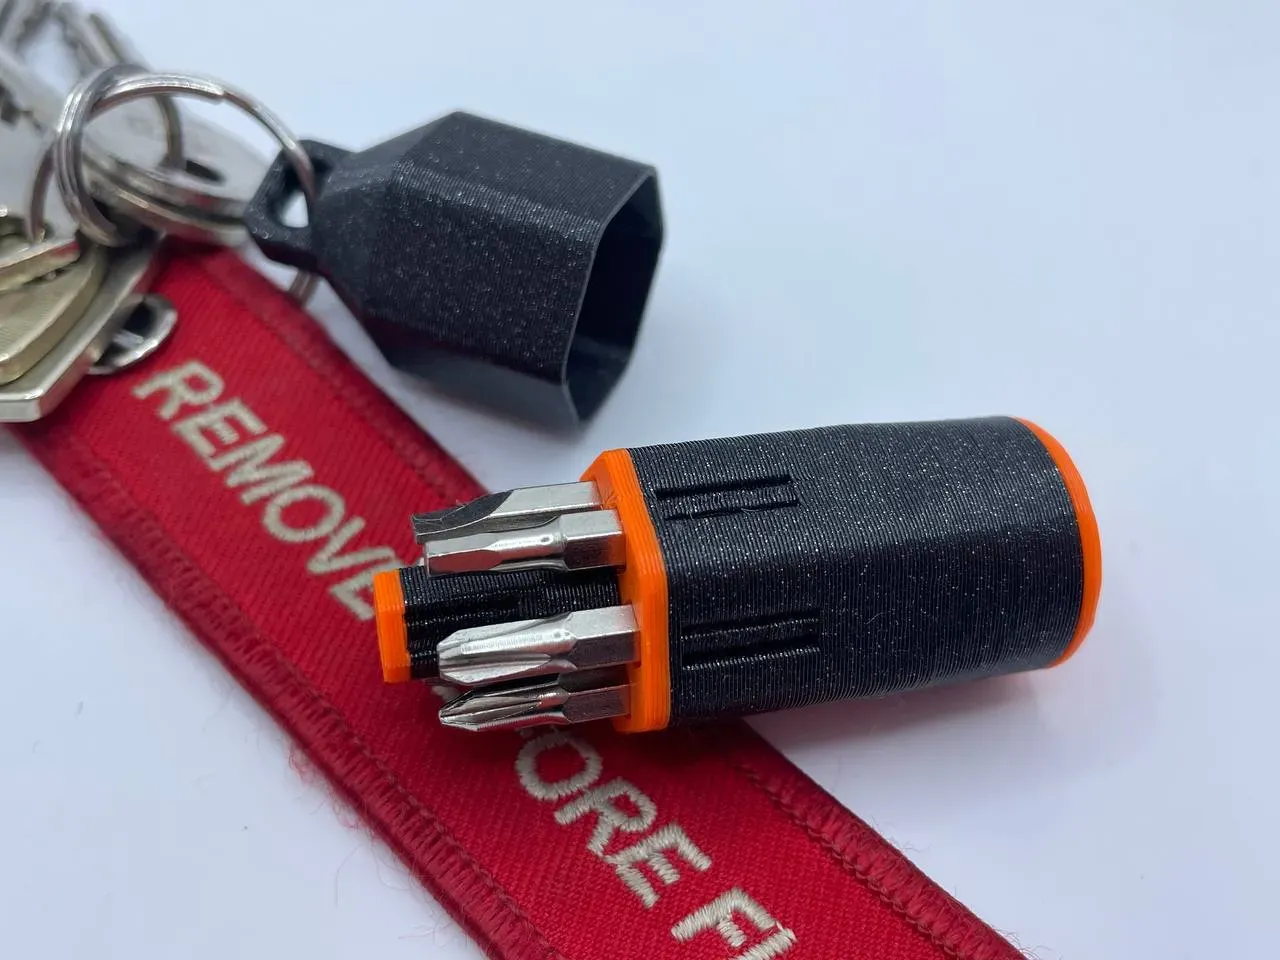
I was told that it'd be impossible to fit a ratchet mechanism inside a tiny screwdriver, let alone hold more than a single bit. This is to prove that person wrong ;)
also check out the Print-In-Place version
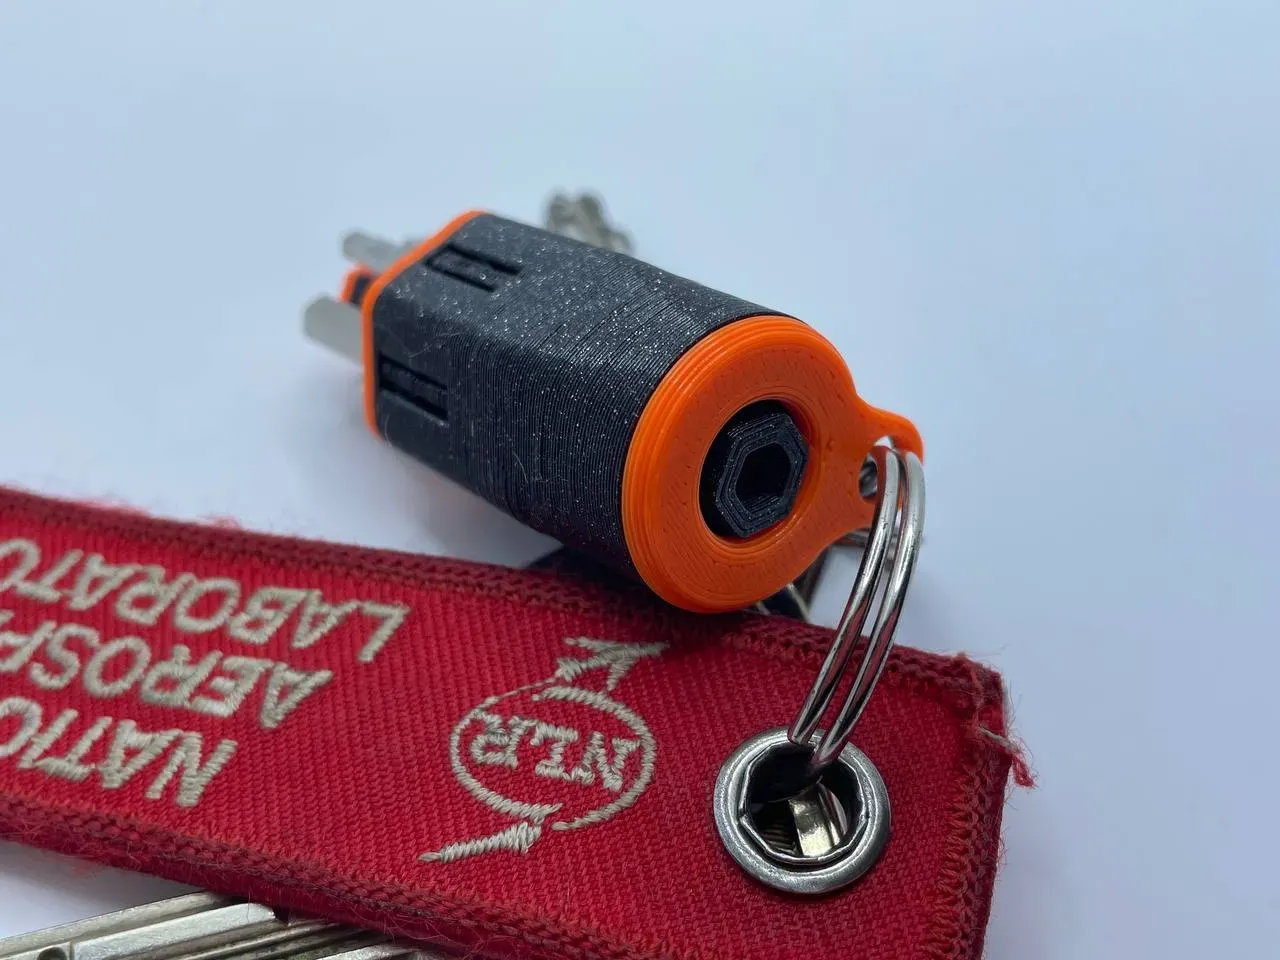
A reversible ratchet mechanism didn't fit the budget so I opted for the big brain move of simply reversing the screwdriver. Yes there's another receptacle in the back ;)
• fits 4x28mm bits such as the iFixit ones
• 30° ratchet with clockwise and CCW socket
• freely rotating end cap
• optional keychain attachment point in end-cap
• optional keychain front-cap with tight pressfit
• print in one go (dual color too)
The low budget LTT screwdriver look or any other dual color look for that matter, can be achieved by a simple filament swap at the 2mm mark.
Print time is under 1h and total cost in Prusament is <40ct which means its only 1/100th of the shipping cost of a real LTT screwdriver to europe 💀💀💀
Print everything in one go .3mm layer height and .5mm extrusion width (Prusa .3 draft settings). No supports. 57min for just the screwdriver + 18min for the optional cap
PETG is the way to go but PLA works too but creeps and I haven't done any long term study on how the compliant springs hold up.
Assembly is dead simple thanks to the 5 piece assembly
• axle through main-body
• ratchet onto axle (check orientation)
• free spinning cap onto axle
• rear socket onto axle (press hard)
should the tolerance for the rear socket be too tight, fear not I added some variations that are a bit more loosey goosey.
STEP included in case you want to improve the ratchet mechanism or you have a better idea on how to attach a keychain.
0.3mm layer height & 0.5mm extrusion width
otherwise its gonna be wonky
Mielőtt elmész
Küldd el magadnak
Küldünk egy linket, amivel 7 napig egy kattintással folytathatod – akár a telefonodon is. Ezen az eszközön külön kérés nélkül is megjegyezzük, hol tartasz.
A címedet csak erre az egy levélre használjuk: nem tároljuk, és nem küldünk rá hírlevelet. Adatkezelési tájékoztató