

Legálisan kinyomtathatjuk neked
Kereskedelmi célra is kinyomtatható, ha feltüntetjük a tervezőt; a módosított tervet ugyanígy kell továbbadni.
Creative Commons Nevezd meg! – Így add tovább! (CC BY-SA) · A tervező nevét a rendelésednél is feltüntetjük.
Alkatrészek
6 / 6 kijelölveVedd ki, amelyik részre nincs szükséged. Mindegyik ugyanabból az anyagból és színből készül.
A tervező leírása
Eredeti nyelven, a Printables oldaláról.
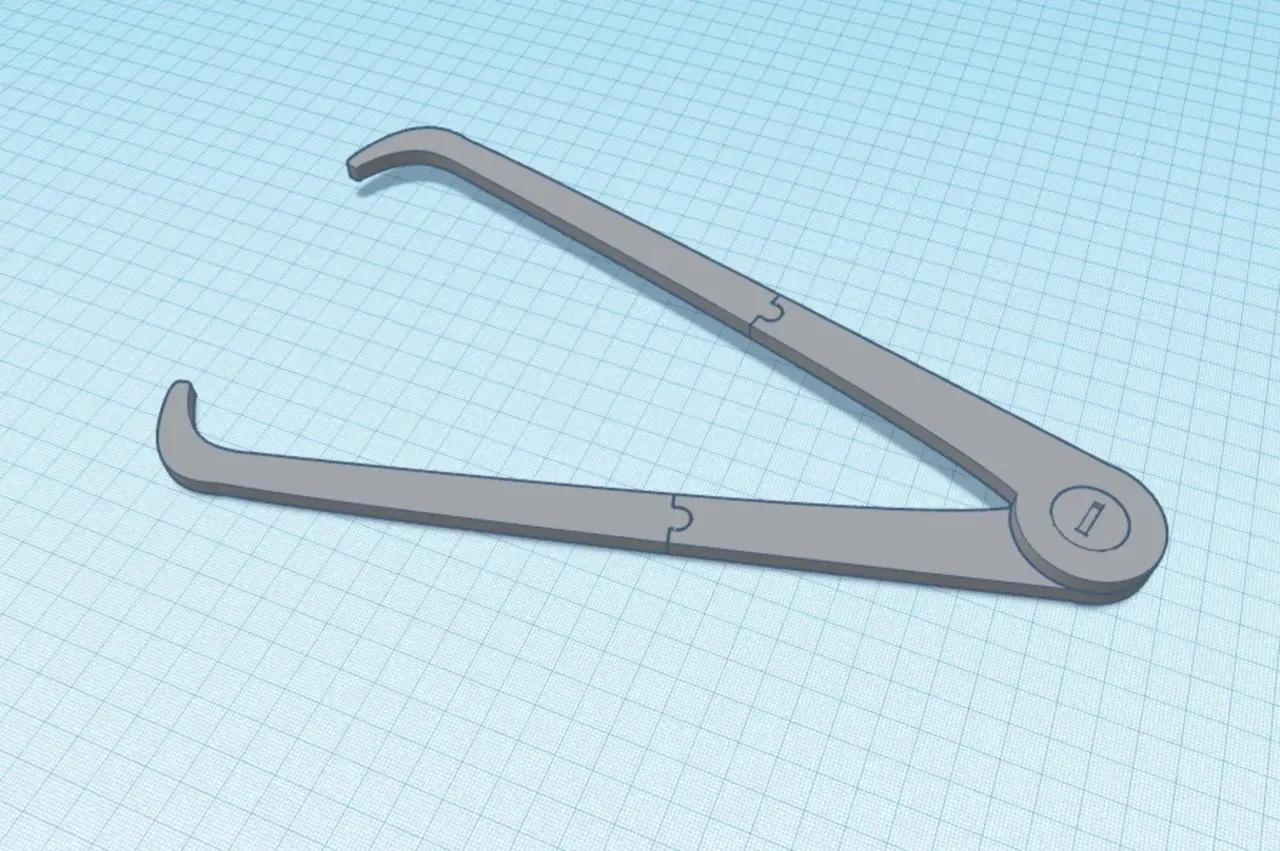
Remixed version of Cosplay Calipers.
What’s it for?
When making cosplay/costume items, proper fitment is important! These calipers will help. They’re used to measure body parts, so you can accurately fine-tune wearable pieces you’re making.
Whether you’re 3D printing or hand-making a costume, these calipers will help you make sure it fits properly.
How is it used?
Just close the ends around what you’re measuring, then grip them firmly to maintain the distance while you measure with a measuring tape, or mark the distance onto paper and measure the marks.
What was modified/remixed?
The original design has smooth countersinks on both the nut and bolt, so you had to hold both sides while tightening. To make it easier to assemble and retighten, I added a hex head to the nut and matching countersunk cutout on one arm. I also downsized the nut and screw x and y by 1.5% and 3% respectively as suggested in original comments by Wpnx330 on another 3D model site.
How should I print and assemble it?
On the screw and nut, consider printing at a lower layer height for ease of threading, and more perimeters for strength.
The arms have been cut into two pieces for easier printing, especially on smaller print beds. Assemble the two pieces of each arm using appropriate glue and/or heat welding. Then connect them with the nut and bolt. The bolt has a coin-sized slot for easy tightening.
Mielőtt elmész
Küldd el magadnak
Küldünk egy linket, amivel 7 napig egy kattintással folytathatod – akár a telefonodon is. Ezen az eszközön külön kérés nélkül is megjegyezzük, hol tartasz.
A címedet csak erre az egy levélre használjuk: nem tároljuk, és nem küldünk rá hírlevelet. Adatkezelési tájékoztató